

Resin art is a fascinating and creative medium that allows you to make stunning abstract designs, jewelry, home décor, and more. Here’s a step-by-step guide to get you started:
What is Resin Art?
Resin art involves using epoxy resin, a clear liquid that hardens into a glossy, glass-like finish when mixed with a hardener. You can add colors, pigments, glitter, or other materials to create unique designs.
Materials You’ll Need:
- Epoxy Resin Kit (Resin & Hardener)
- Mixing Cups & Stirring Sticks (Wooden or silicone)
- Protective Gear (Gloves, mask, and apron)
- Silicone Molds or Canvas (Depending on your project)
- Pigments & Dyes (Acrylic paint, alcohol ink, mica powder)
- Heat Gun or Torch (To remove bubbles)
- Level Surface (To prevent resin from pooling unevenly)
- Plastic Sheet or Wax Paper (To protect your workspace)
Step-by-Step Process:
Step 1: Prepare Your Workspace
- Work in a well-ventilated area.
- Cover the surface with plastic or wax paper.
- Wear gloves and a mask to avoid inhaling fumes.
Step 2: Mixing Resin & Hardener
- Follow the resin kit instructions (usually a 1:1 ratio or 2:1 ratio).
- Pour the resin and hardener into a mixing cup and stir slowly for 3-5 minutes to avoid bubbles.
Step 3: Add Colors & Effects
- Separate the mixed resin into different cups.
- Add mica powder, alcohol ink, or acrylic paint for color.
- Stir gently to blend the pigments.
Step 4: Pouring the Resin
- If using a canvas, pour the resin in patterns or layers.
- If using molds, slowly pour to avoid bubbles.
- You can use a toothpick or skewer to create designs like marble or swirls.
Step 5: Removing Air Bubbles
- Use a heat gun, torch, or a toothpick to remove any bubbles.
- Be careful not to overheat, or the resin might burn.
Step 6: Curing the Resin
- Let the resin cure for 24-48 hours in a dust-free area.
- Avoid touching or moving the piece while it hardens.
Step 7: Finishing Touches
- Once cured, you can sand the edges for a smoother finish.
- If making coasters or trays, add a protective layer of resin for durability.
Tips for Beginners:
✅ Always measure and mix resin correctly.
✅ Use a heat gun to get rid of bubbles.
✅ Work on a level surface to prevent uneven curing.
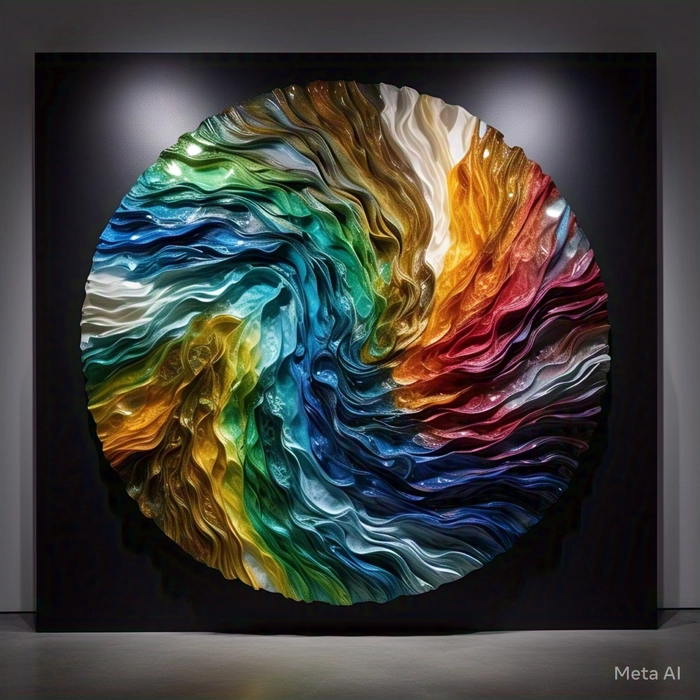
✅ Experiment with different techniques like resin waves, geode art, or petri resin.
✅ Avoid using water-based paint as it may not mix well with resin.